Have you ever looked at a costume or a playful outfit and felt like it needed just a little something extra, something that truly pops? A crochet clown collar, you know, could be that very thing! These whimsical neckpieces, often bursting with bright colors and delightful ruffles, are more than just costume pieces; they're a way to show off your creative spirit. They bring a bit of joy and a touch of the unexpected to any look, whether for a special event or just for fun. People are really enjoying making and wearing these playful items, it's almost a little trend right now, especially for festivals or themed parties.
Making your own crochet clown collar is a project that feels really rewarding, and it's actually quite accessible for many skill levels. You get to choose every color, every texture, creating something truly unique. It's a chance to play with yarn in a way that's both fun and surprisingly simple, especially if you have some basic crochet skills or are keen to pick them up. This particular piece lets your imagination run a bit wild, allowing for all sorts of cheerful designs and shapes. You can make it as big and bold or as subtle and sweet as you like, really.
Here, we're going to walk through everything you might want to know about creating your very own crochet clown collar. We'll look at what you need to get going, some simple steps for putting it together, and where to find inspiration. We have thousands of free crochet patterns for every project you could dream of, and you can find all varieties and skill levels on our site. We also offer free and easy crochet patterns for beginners, along with a how to crochet guide. So, let's get ready to add some fantastic, handcrafted charm to your world, shall we?
Table of Contents
Why a Crochet Clown Collar? The Playful Appeal
Getting Started: What You Need for Your Crochet Clown Collar
Choosing Your Yarn: Colors and Comfort
Selecting the Right Hook: Size Matters
Other Handy Tools
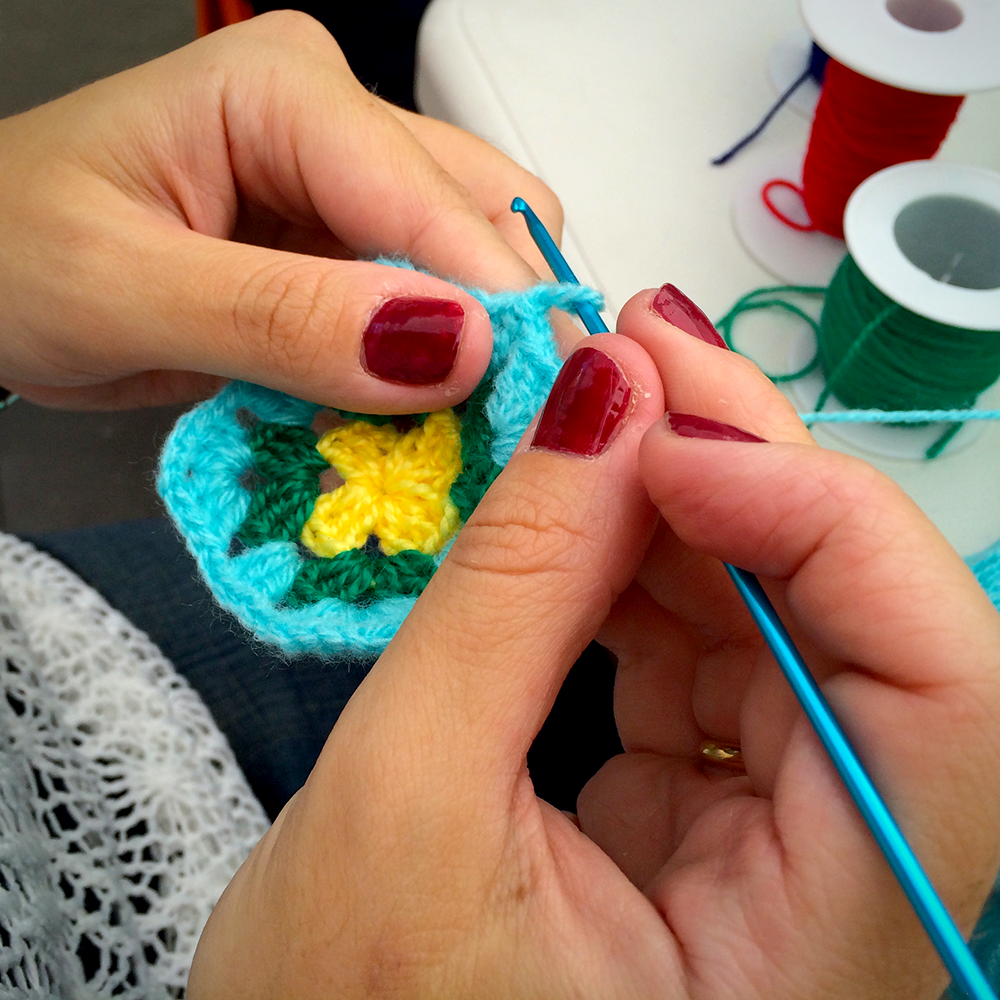
The Basics of Crochet: Your First Steps
Preparing Your Yarn and Hook
Starting with the Chain Stitch
Mastering the Single Crochet
Crafting Your Crochet Clown Collar: Techniques for That Ruffle
Creating the Collar Base
Adding the Ruffles: The Key to Clown Charm
Finishing Touches: Ties and Edging
Finding Your Perfect Crochet Clown Collar Pattern
Troubleshooting Your Crochet Clown Collar Project
Common Challenges for Beginners
Tips for Fixing Mistakes
Frequently Asked Questions About Crochet Clown Collars
How do you crochet a ruffled collar?
What kind of yarn is best for a crochet clown collar?
Are crochet clown collars hard to make?
Beyond the Clown Collar: More Crochet Fun
Ready to Start Your Crochet Clown Collar Adventure?
Why a Crochet Clown Collar? The Playful Appeal
A crochet clown collar, you know, has a certain charm that's hard to ignore. It’s not just for actual clowns, apparently! People use them for all sorts of things, from adding a fun twist to a Halloween costume to making a statement at a themed party. Some even wear them as a bold fashion item, just for the sheer joy of it. It’s a very versatile piece, really, and it often sparks conversations and brings smiles, which is pretty nice.
Creating one of these collars lets you really get creative with colors and textures. You can go for bright, contrasting hues, or perhaps something a bit softer and more pastel. It’s a chance to express your personality through stitches and yarn. Plus, making something with your own hands feels good, and seeing someone wear your creation is even better, typically. This kind of project is a good way to use up smaller bits of yarn you might have lying around, too, which is always a bonus.
Getting Started: What You Need for Your Crochet Clown Collar
Before you even make your first stitch, you'll want to gather a few items. Getting everything ready beforehand makes the whole process smoother and more enjoyable, obviously. It’s like preparing your ingredients before you cook; it just makes sense. You don't want to be halfway through and realize you're missing something important, do you?
Choosing Your Yarn: Colors and Comfort
The yarn you pick makes a big difference in how your crochet clown collar looks and feels. For a truly "clown" look, think about bright, cheerful colors. Maybe some reds, yellows, blues, or greens. You could even use variegated yarn that changes color as you work, which is pretty cool. As a matter of fact, the type of yarn matters too. Acrylic yarn is often a good choice because it comes in many colors, is easy to work with, and holds its shape well. Cotton yarn also works, especially if you want something a bit softer. You'll find tips on which hook size to use right on the yarn's label, which is super helpful, honestly.
When you're choosing yarn, consider how it will feel against the skin. Since it's a collar, you want it to be comfortable. A medium-weight yarn, like a worsted weight, is usually a good starting point for a crochet clown collar. It's not too thin, not too thick, making it easier to see your stitches. You can combine different colors, perhaps using one for the main part and another for the ruffles, to make it really pop. Just make sure the different yarns are similar in weight so your stitches stay consistent, you know?
Selecting the Right Hook: Size Matters
Your crochet hook is your main tool, so picking the right one is quite important. The yarn's label will often suggest a hook size, and that's usually a good place to begin. A larger hook will make a looser fabric with bigger stitches, while a smaller hook will create a tighter, denser fabric. For a crochet clown collar, you probably want something that holds its shape but isn't too stiff, so a middle-of-the-road hook size is often a good bet. If you're just starting out, a hook that feels comfortable in your hand is also a really big deal, as a matter of fact.
If your stitches feel too tight and hard to work into, try going up a hook size. If they feel too loose and gappy, go down a size. It’s a bit of trial and error sometimes, which is perfectly normal. Most crochet projects start with a chain stitch, and getting that first row just right often depends on having the right hook for your chosen yarn. You'll learn how to chain and a basic stitch single crochet here, too. A good hook helps your hands feel less tired, especially on a longer project, which is something to consider.
Other Handy Tools
Besides yarn and a hook, a few other things will make your crochet clown collar project smoother. A pair of sharp scissors is pretty essential for cutting your yarn ends. A tapestry needle, which has a blunt tip and a large eye, is very useful for weaving in those loose ends when you're done. This makes your finished piece look neat and tidy. Stitch markers can also be a real help, especially if you're working in rounds or need to mark specific spots for increases or decreases. They're just little clips that help you keep track, basically.
You might also find a measuring tape useful to check the size of your collar as you go, ensuring it will fit comfortably around the neck. Sometimes, a row counter is helpful, especially if your pattern has many rows or repetitions. These tools aren't strictly necessary for every project, but they can certainly make the process less fiddly and more enjoyable. They're like little assistants for your crafting, in a way.
The Basics of Crochet: Your First Steps
If you're new to crochet, don't worry! Making a crochet clown collar is a good way to practice some fundamental stitches. We have resources that will show you how to crochet from the very beginning. It's all about building one stitch upon another, and with a little practice, it becomes quite natural, you know. Think of it as learning a new language, one stitch at a time.
Preparing Your Yarn and Hook
To begin, you need to get your yarn ready. This means preparing your yarn and learning how to make a slip knot. A slip knot is the very first loop you put on your hook, and it's where all your other stitches will grow from. It's really simple once you get the hang of it, and there are many tutorials that show you exactly how. Then, you'll learn how to hold your hook and yarn comfortably. This is often a personal preference, so try different ways until one feels right for you. Some people hold the hook like a pencil, others like a knife. It's just about what feels natural, honestly.
Getting comfortable with how you hold things is pretty important for consistent tension in your stitches. Consistent tension means your crochet fabric will look even and neat, which is always nice. In this beginners step by step guide, we’re going to go through everything you need to know as a complete crochet beginner, from knowing what tools and materials you need. It's all about setting yourself up for success, right from the very start. You'll find that once you get into a rhythm, the process becomes quite meditative, actually.
Starting with the Chain Stitch
Most crochet projects start with a chain stitch. This is basically a series of connected loops that form your foundation row. For a crochet clown collar, your chain will be the length that goes around the neck. Making a chain is often the first thing people learn in crochet because it's the base for almost everything else. You yarn over your hook and pull it through the loop on your hook, creating a new loop. You just keep repeating that step until your chain is the length you need. It's pretty straightforward, honestly, but it does take a little practice to make your chains even.
An even chain makes it much easier to work your first row of stitches into. If your chain is too tight or too loose, your collar might not lay flat or could be a bit wonky. Don't worry if your first few chains look a little messy; everyone starts there. Just keep practicing until they look more uniform. This foundation is really important for the overall shape and drape of your crochet clown collar, so take your time with it. It's like building the first floor of a house, you know, it needs to be solid.
Mastering the Single Crochet
After your chain, the single crochet is often the next stitch you learn, and it's a great one for building solid fabric. It's a basic stitch that forms a dense, sturdy fabric, which is good for a collar that needs to hold its shape a bit. To make a single crochet, you insert your hook into a stitch, yarn over, pull up a loop (so you have two loops on your hook), yarn over again, and pull through both loops. That's it! It creates a short, compact stitch. You'll learn how to chain and a basic stitch single crochet here, which is pretty helpful.
Practicing single crochet will help you get a feel for your tension and how the yarn behaves. Many crochet clown collar patterns might use single crochet for the base of the collar before adding ruffles. It's a very versatile stitch, and once you've got it down, you'll feel much more confident tackling other stitches. There are lots of tutorials that break it down step by step, so you can watch and follow along until it clicks. It's a fundamental building block, so it's worth getting comfortable with it, truly.
Crafting Your Crochet Clown Collar: Techniques for That Ruffle
Now for the fun part: making your crochet clown collar come alive with those wonderful ruffles! This is where the magic happens, so to speak. The ruffles are what give the collar its distinctive, playful look, and there are a few ways to achieve them. It’s all about creating more fabric in a smaller space, which makes it ripple and wave. You can make them as subtle or as dramatic as you like, really.
Creating the Collar Base
First, you'll make the main part of your crochet clown collar that sits around the neck. This is often a simple, flat strip of crochet. You might use single crochet or half double crochet for this part, depending on the pattern or your preference. The length of this strip will determine how snugly the collar fits. You'll want to measure around the neck where you want the collar to sit, and then crochet your base to that length, or a little less if you plan to add ties for closure. Shaping this base properly is pretty important for comfort and how it lays. Sometimes, you might make it slightly curved to sit better on the shoulders, which is a neat trick.
Some patterns might have you work in rows back and forth, while others might have you join your chain into a circle and work in rounds. For a crochet clown collar, working in rows and then joining or adding ties is often simpler, especially for beginners. This base doesn't need to be very wide, as the ruffles will add most of the visual bulk. It's just the foundation, the part that holds everything together, you know. Think of it as the plain canvas before you add all the colorful paint.
Adding the Ruffles: The Key to Clown Charm
The ruffles are what make a crochet clown collar truly special. You create ruffles by working multiple stitches into a single stitch from the previous row. For example, if you single crochet two or three times into every single stitch, the fabric will expand rapidly, causing it to ruffle. Double crochet or treble crochet stitches worked in this way create even more dramatic ruffles because they are taller stitches. You can also vary the number of stitches you put into each stitch to control how full or tight your ruffles are, which is pretty cool.
Another way to get ruffles is by working into only one loop of the stitch (either the front loop or the back loop) and then working another row of ruffles into the remaining loop. This creates layers of ruffles, which can look very impressive. You can also alternate rows of regular stitches with rows of increased stitches to build up the ruffle effect gradually. Experiment with different stitch types and increase rates to see what kind of ruffle you like best for your crochet clown collar. It’s all about playing around and seeing what happens, actually.
Finishing Touches: Ties and Edging
Once your crochet clown collar has all its wonderful ruffles, you'll want to add some finishing touches. Most collars need a way to stay on, so adding ties is a common step. You can crochet simple chains of yarn at each end of the collar base, making them long enough to tie into a bow. Or, you could attach ribbon for a different look. Just make sure they're secure so your collar doesn't come undone when you're wearing it, you know.
You might also want to add a simple edging around the entire collar, including the ruffled parts, to give it a neat, finished look. A row of single crochet or slip stitches can work well for this. This step often makes a big difference in how polished your crochet clown collar looks. Weaving in all your loose yarn ends neatly is also really important for a professional appearance. Nobody wants stray threads hanging out, right? It’s the little details that often make the biggest impact, truly.
Finding Your Perfect Crochet Clown Collar Pattern
The good news is, you don't have to invent your crochet clown collar from scratch. There are so many resources out there! We offer thousands of free crochet patterns for every project you could dream of, and that includes designs for all skill levels, from beginners to advanced crocheters. You can find all varieties and skill levels here, so you're pretty much covered. Just search for "crochet clown collar pattern" and you'll likely find a good starting point. You'll find the best free crochet patterns on our site, too.
When picking a pattern for your crochet clown collar, look for one that matches your current skill level. If you're just starting, choose a pattern labeled "easy" or "beginner-friendly." These often use basic stitches like chain and single crochet and have clear, step-by-step instructions. If you're more experienced, you might look for patterns with more complex ruffles or shaping. Don't be afraid to read through the pattern before you start to make sure it makes sense to you. Learn more about crochet basics on our site, it's a good place to start your search.
Troubleshooting Your Crochet Clown Collar Project
Even experienced crocheters run into little snags sometimes, so if your crochet clown collar isn't looking quite right, don't get discouraged! It's all part of the process, honestly. Most problems have pretty simple solutions, and learning how to fix them makes you a better crocheter in the long run. It's like learning to ride a bike; you might wobble a bit at first, but you get better with practice, you know?
Common Challenges for Beginners
One common issue for beginners is uneven stitches. Some might be too tight, others too loose. This often comes down to inconsistent tension. The more you practice, the more even your stitches will become. Another challenge is counting errors, which can lead to your crochet clown collar getting wider or narrower when it shouldn't. Using stitch markers at the beginning and end of rows can really help with this. Sometimes, the edges of your work might look a bit messy, but a simple border can usually fix that right up. It's just about getting used to the feel of the yarn and hook, basically.
Tips for Fixing Mistakes
The best way to fix most crochet mistakes is to simply unravel your work back to the point where the mistake happened. This is called "frogging" (because you "rip it, rip it," like a frog!). It might feel a bit frustrating at first, but it's much better to fix a mistake early than to finish your crochet clown collar with something that bothers you. Patience is pretty important here. Don't rush it. Take a deep breath, pull out those stitches, and start again. You'll find that with each fix, you learn more about how the stitches work together, which is quite valuable, truly.
Frequently Asked Questions About Crochet Clown Collars
People often have similar questions when they're thinking about making a crochet clown collar. Here are some common ones, with some simple answers to help you out.
How do you crochet a ruffled collar?
You make a ruffled collar by increasing the number of stitches in certain rows or sections. This means working more than one stitch into a single stitch from the row before. For example, if you put two or three double crochet stitches into every stitch along a row, that part of the fabric will get much wider and start to ripple, creating that lovely ruffle effect. The more stitches you add per original stitch, the fuller and more dramatic the ruffle will be, you know. It's all about making the fabric expand faster than the length of the row.
What kind of yarn is best for a crochet clown collar?
For a crochet clown collar, a medium-weight yarn like worsted weight acrylic or cotton is usually a good choice. Acrylic yarn is often bright, comes in many colors, and is pretty easy to care for. Cotton yarn is also nice if you want something that feels a bit softer against the skin. You want a yarn that will hold its shape somewhat so the ruffles stand out, but also one that drapes nicely. The color choice is completely up to you, but bright, contrasting colors really make a "clown" collar pop, obviously. It's about what you like and what will be comfortable to wear, really.
Are crochet clown collars hard to make?
Crochet clown collars can be as simple or as complex as you want them to be. For a beginner, they are actually quite manageable! If you pick a pattern that uses basic stitches like chain and single crochet, and focuses on simple ruffle techniques, it's definitely something you can do. The main thing is to take your time and follow the instructions. As a matter of fact, many free and easy crochet patterns for beginners are available, and you can check out our how to crochet guide. With a little practice, you'll be making them with ease, honestly. It's more about patience than it is about some kind of secret skill.
Beyond the Clown Collar: More Crochet Fun
Once you've made your crochet clown collar, you'll likely feel a sense of accomplishment and perhaps a desire to make even more things! We have a library of over 700 free crochet patterns, offering designs for all skill levels. You can find patterns for easy sweaters and cardigans, unique throw blankets, beanies, sun hats, and scarves. The skills you pick up making a collar, like chaining and single crochet, are the building blocks for so many other projects. It's pretty amazing how much you can create with just a few basic stitches, you know.
Explore the crochet crowd for thousands of free crochet and knitting patterns, tutorials, and engaging stitch alongs to really build your crafting skills. Browse through a wide range of tutorials and easy guides. There's always something new to learn and create in the world of yarn crafts. So, once your crochet clown collar is done, consider what other fun projects you might want to try next. You might surprise yourself with what you can make, truly. Link to this page for more crochet inspiration.
Ready to Start Your Crochet Clown Collar Adventure?
So, are you feeling ready to grab some yarn and a hook and start making your very own crochet clown collar? It’s a project that promises a lot of fun and a unique, handcrafted piece to show off. Whether you're making it for a costume, a gift, or just to add some cheer to your day, it's a rewarding experience. You've got all the basic info you need to get going, from choosing your materials to understanding the stitches. Just remember to take it one stitch at a time, and enjoy the process. Explore basic crochet stitches